Good Morning and Happy April! Spring is upon us, and with that comes Spring Cleaning (in a lot of places, but most likely not here!) and organizing and refreshing! I do love to do the organizing and refreshing part, but if anyone would like to do the cleaning part here, have I got a project for you! One of the things I love about our home is all the opportunities I have to display artwork of my favorites! I am primarily a print photographer, and that is born out of my love for using prints as artwork in my own home and knowing how important it is to family memories and bonds to see photos of us together. Today, I wanted to invite you into our home to show you some ways I have found to do that here and hopefully inspire you to refresh your artwork!

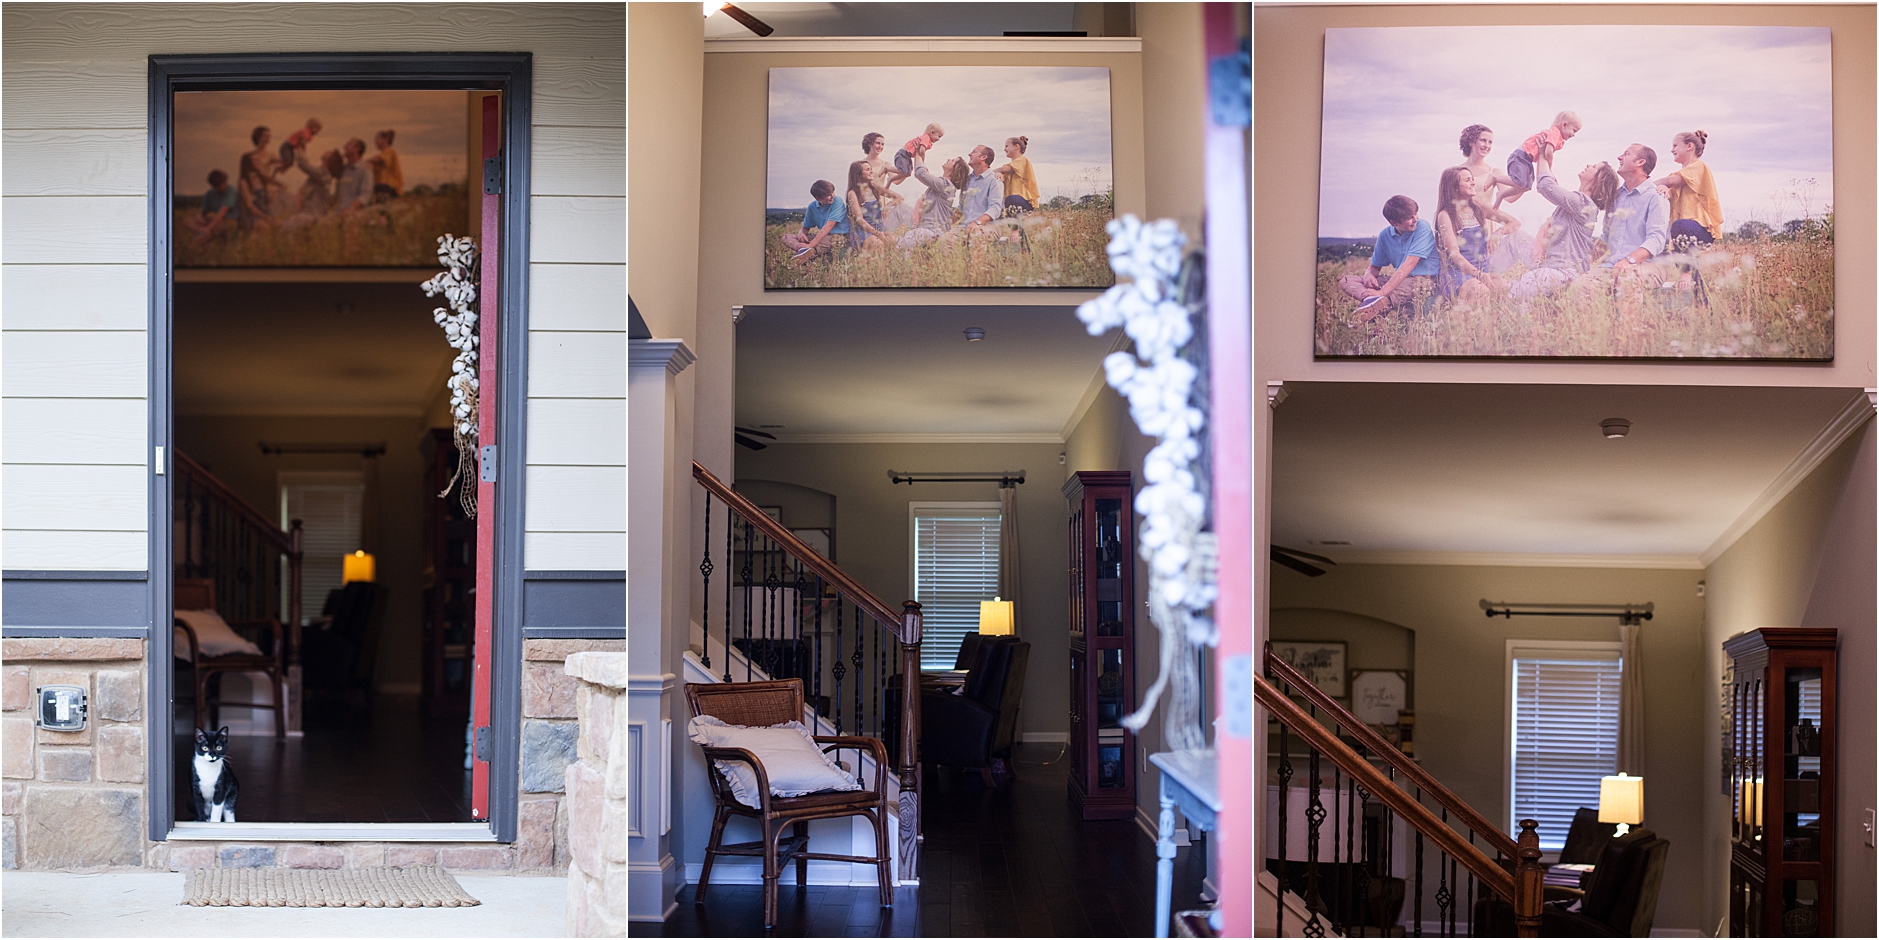
Come on in the front door (whose color is about to get refreshed!), where one of my favorite pieces is the first thing you see. When the hubs and I saw this house for the first time, he said, “That’s where THE picture goes.” I love the impact of a big piece, and even in our smaller home we had a print this size over our couch. This canvas is 4 FEET by 6 FEET (48×72) and hangs above the entrance to the living room on the half wall that makes the loft upstairs. You may think you don’t have room for something like this, but our former house was 1800 square feet with traditional height ceilings and one hung right over the couch filling the wall. This shot is of our family the year we moved into this house (2016), marking who we were then. The only way it’s coming down is with the house!
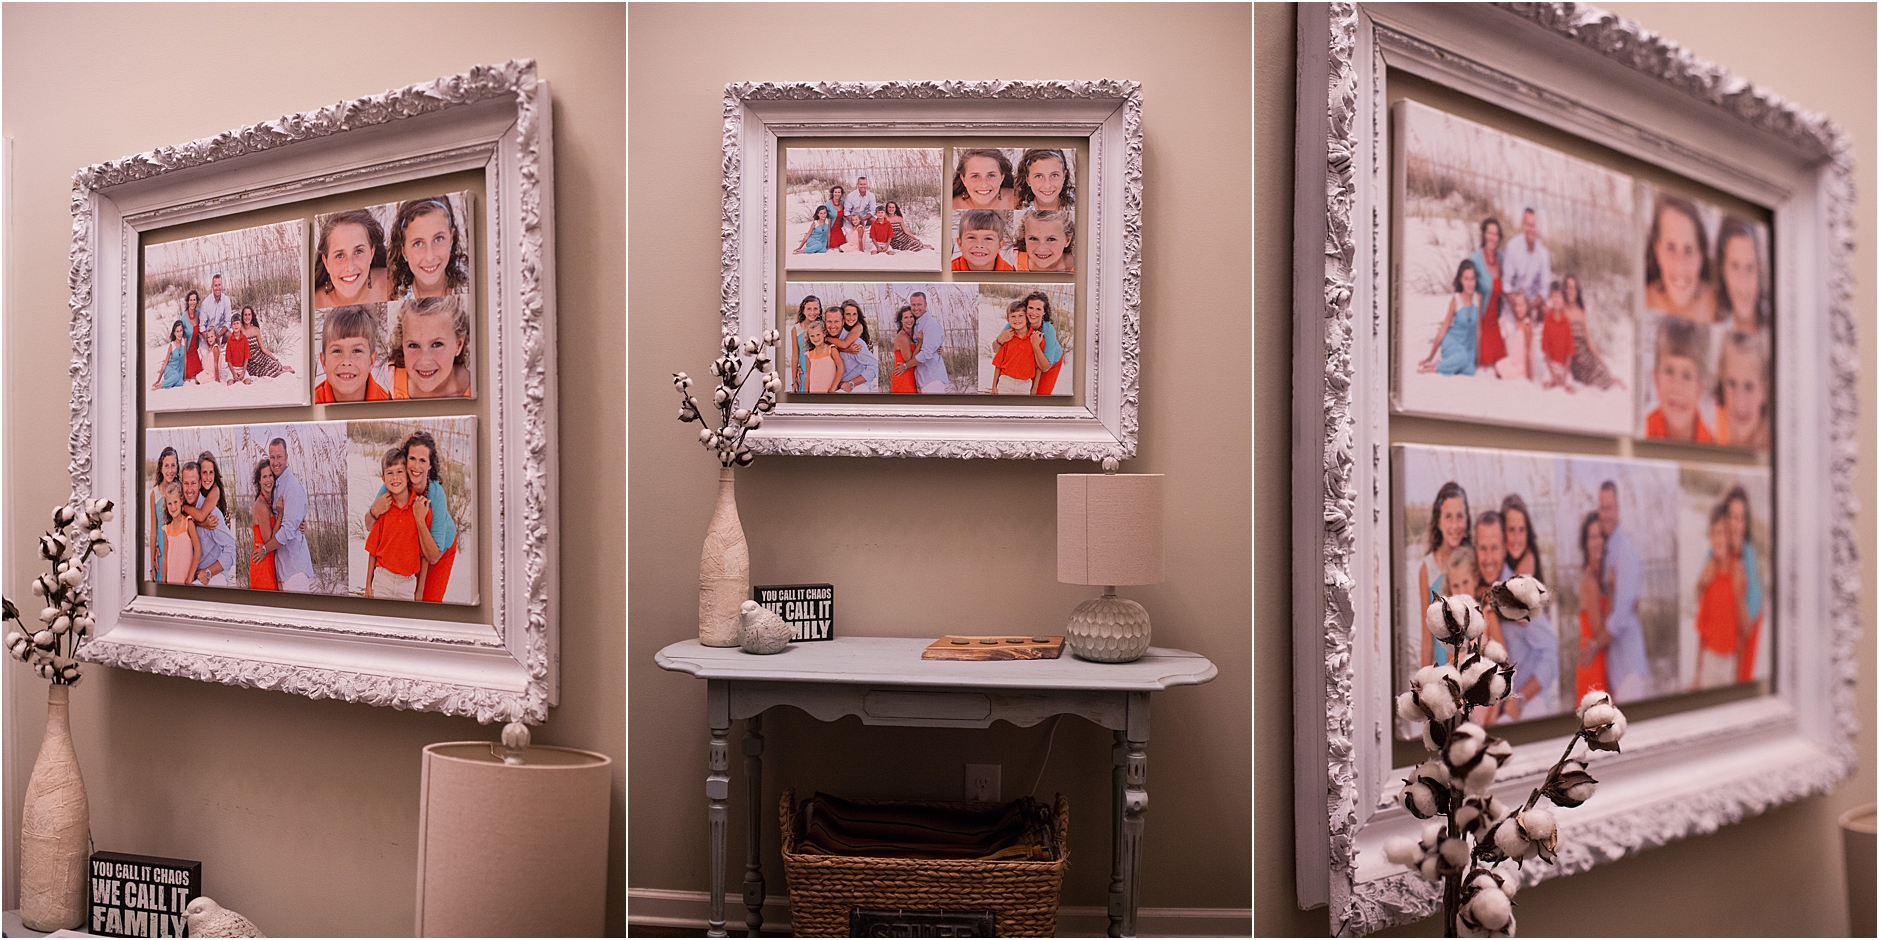
Next, as you enter the front door, to your right is this little arrangement. These beach pictures were a quick little shoot while we were in Pensacola, FL for a wedding (2012), and they turned out to be our favorites! We love the colors, and because it was spur of the moment and really fast, everyone was happy! 😉 I designed 2 of the canvases as collages, so it is 3 separate canvases showcasing 8 different images. We had 4 children at the time, so the symmetry worked – the baby still wonders where he is! Here are my tips for creating a wall piece like this: (1)Go antique hunting for your frame first! It’s much easier to customize your canvases than to find a frame to fit some already printed. (2)Don’t forget to allow for spacing. (3)And Command strips, command strips, command strips! The frame is hung with nails and traditional hanging, but command strips will make your life so much easier.

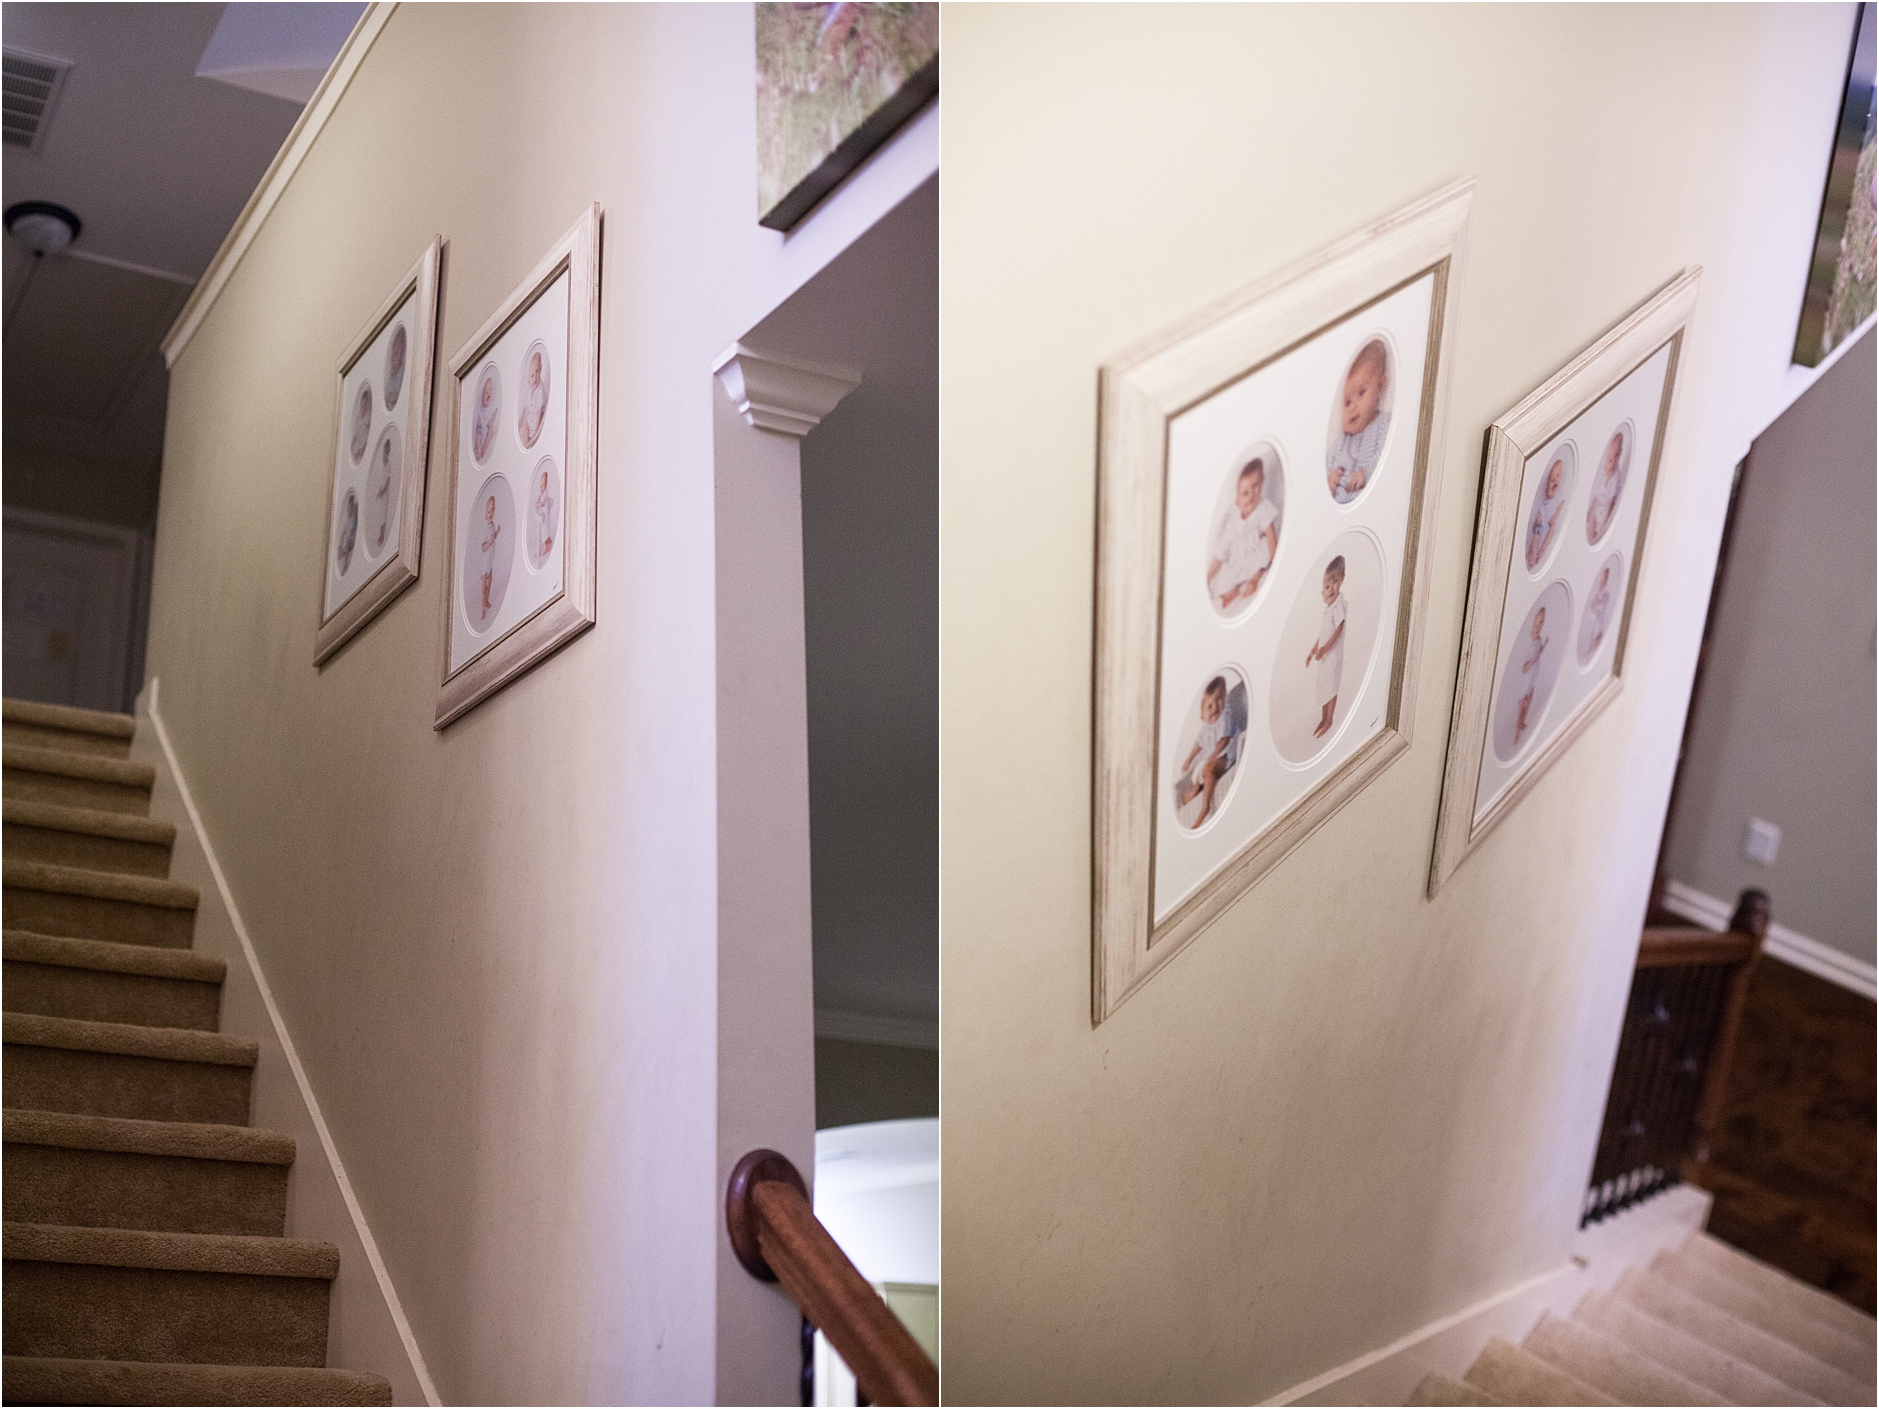
As you look up the stairs, my babies’ first year plans step up the wall. This is a project in progress. With the first 4 babies, I had them in gold frames and the style was a little too ornate for this house. Since we added the 5th so many years later, I am in the process of reframing them (reminder: call the photographer!). The boys are done and are on the right side, the girls will be on the left. I’m also considering working in Graduation portraits with these now that we have 2, but haven’t quite figured that out yet. Stay tuned!

Before you turn left to climb the stairs, you can turn right, and there is this neat little alcove before you enter the master bedroom. I love this space, and I feel this is just the best use for it. I got the little floating ledge shelves from Ikea. If you are handy and industrious, you can make them pretty easily, but they are really reasonable at Ikea, and who doesn’t need a reason to wonder around in there?! I had to trim the edges to make them fit the space, but I preferred doing that to them being short. To keep spaces like this from feeling too junky, keep all your frames in one color, but add interest with another finish and different shapes sporadically.

This final stop on the tour is in the Master Bedroom over my bed. This is the newest arrangement at The Cottage. I had 6 11×14 frames with 8×10 prints lined up the same way, but one by one they were falling off the wall and nearly killing us in our sleep! I decided that the old frames would find a new life somewhere else and I would try something fresh. My brother is a master with wood and builds kitchens, bathrooms, furniture, and decor, so I asked him if he would use some leftovers to make me 6 11×14 wooden boards. He is very good about buying into my ideas, so he said sure, and delivered this beautiful black walnut. A trip for office clip magnets, krazy glue, sawtooth hangers, and gorilla hooks and I was ready to go. I used paint already here to make the bright silver office clips more subtle and antique feeling, and glued them straight to the board. Screw the hangers on the back, shove the gorilla hooks in the wall, and viola! I love the warmth of the wood in my room.


If you made it all the way through this post, thanks! I’ve been wanting to share for a while. Do you have favorite arrangements at your home? I’d love for you to share them with me! Do you need help with some new arrangements at your house? Call The Cottage! Spring is a beautiful time for new family portraits, senior portraits, and artwork!
